|
This covers alot of my hobbies: painting, interior design, web design, shirt designs, sewing , crocheting and wood
working.
Most of these things I learned from my mom and dad. I am having a great time up-grading the apartments
because it gives me a chance to use almost all of these hobbies.
I now have my own set of power tools - so no more having to go hunt for the drill. They all have a space that
is just for them and they better be there every evening. Yes - I check - it took me over 50 years to get my own set of tools.
LOL
My big project last summer was creating the stepping stones for the bird garden. Each stone pattern is original and I had
so much fun making them.
Chicken Nest Cozies
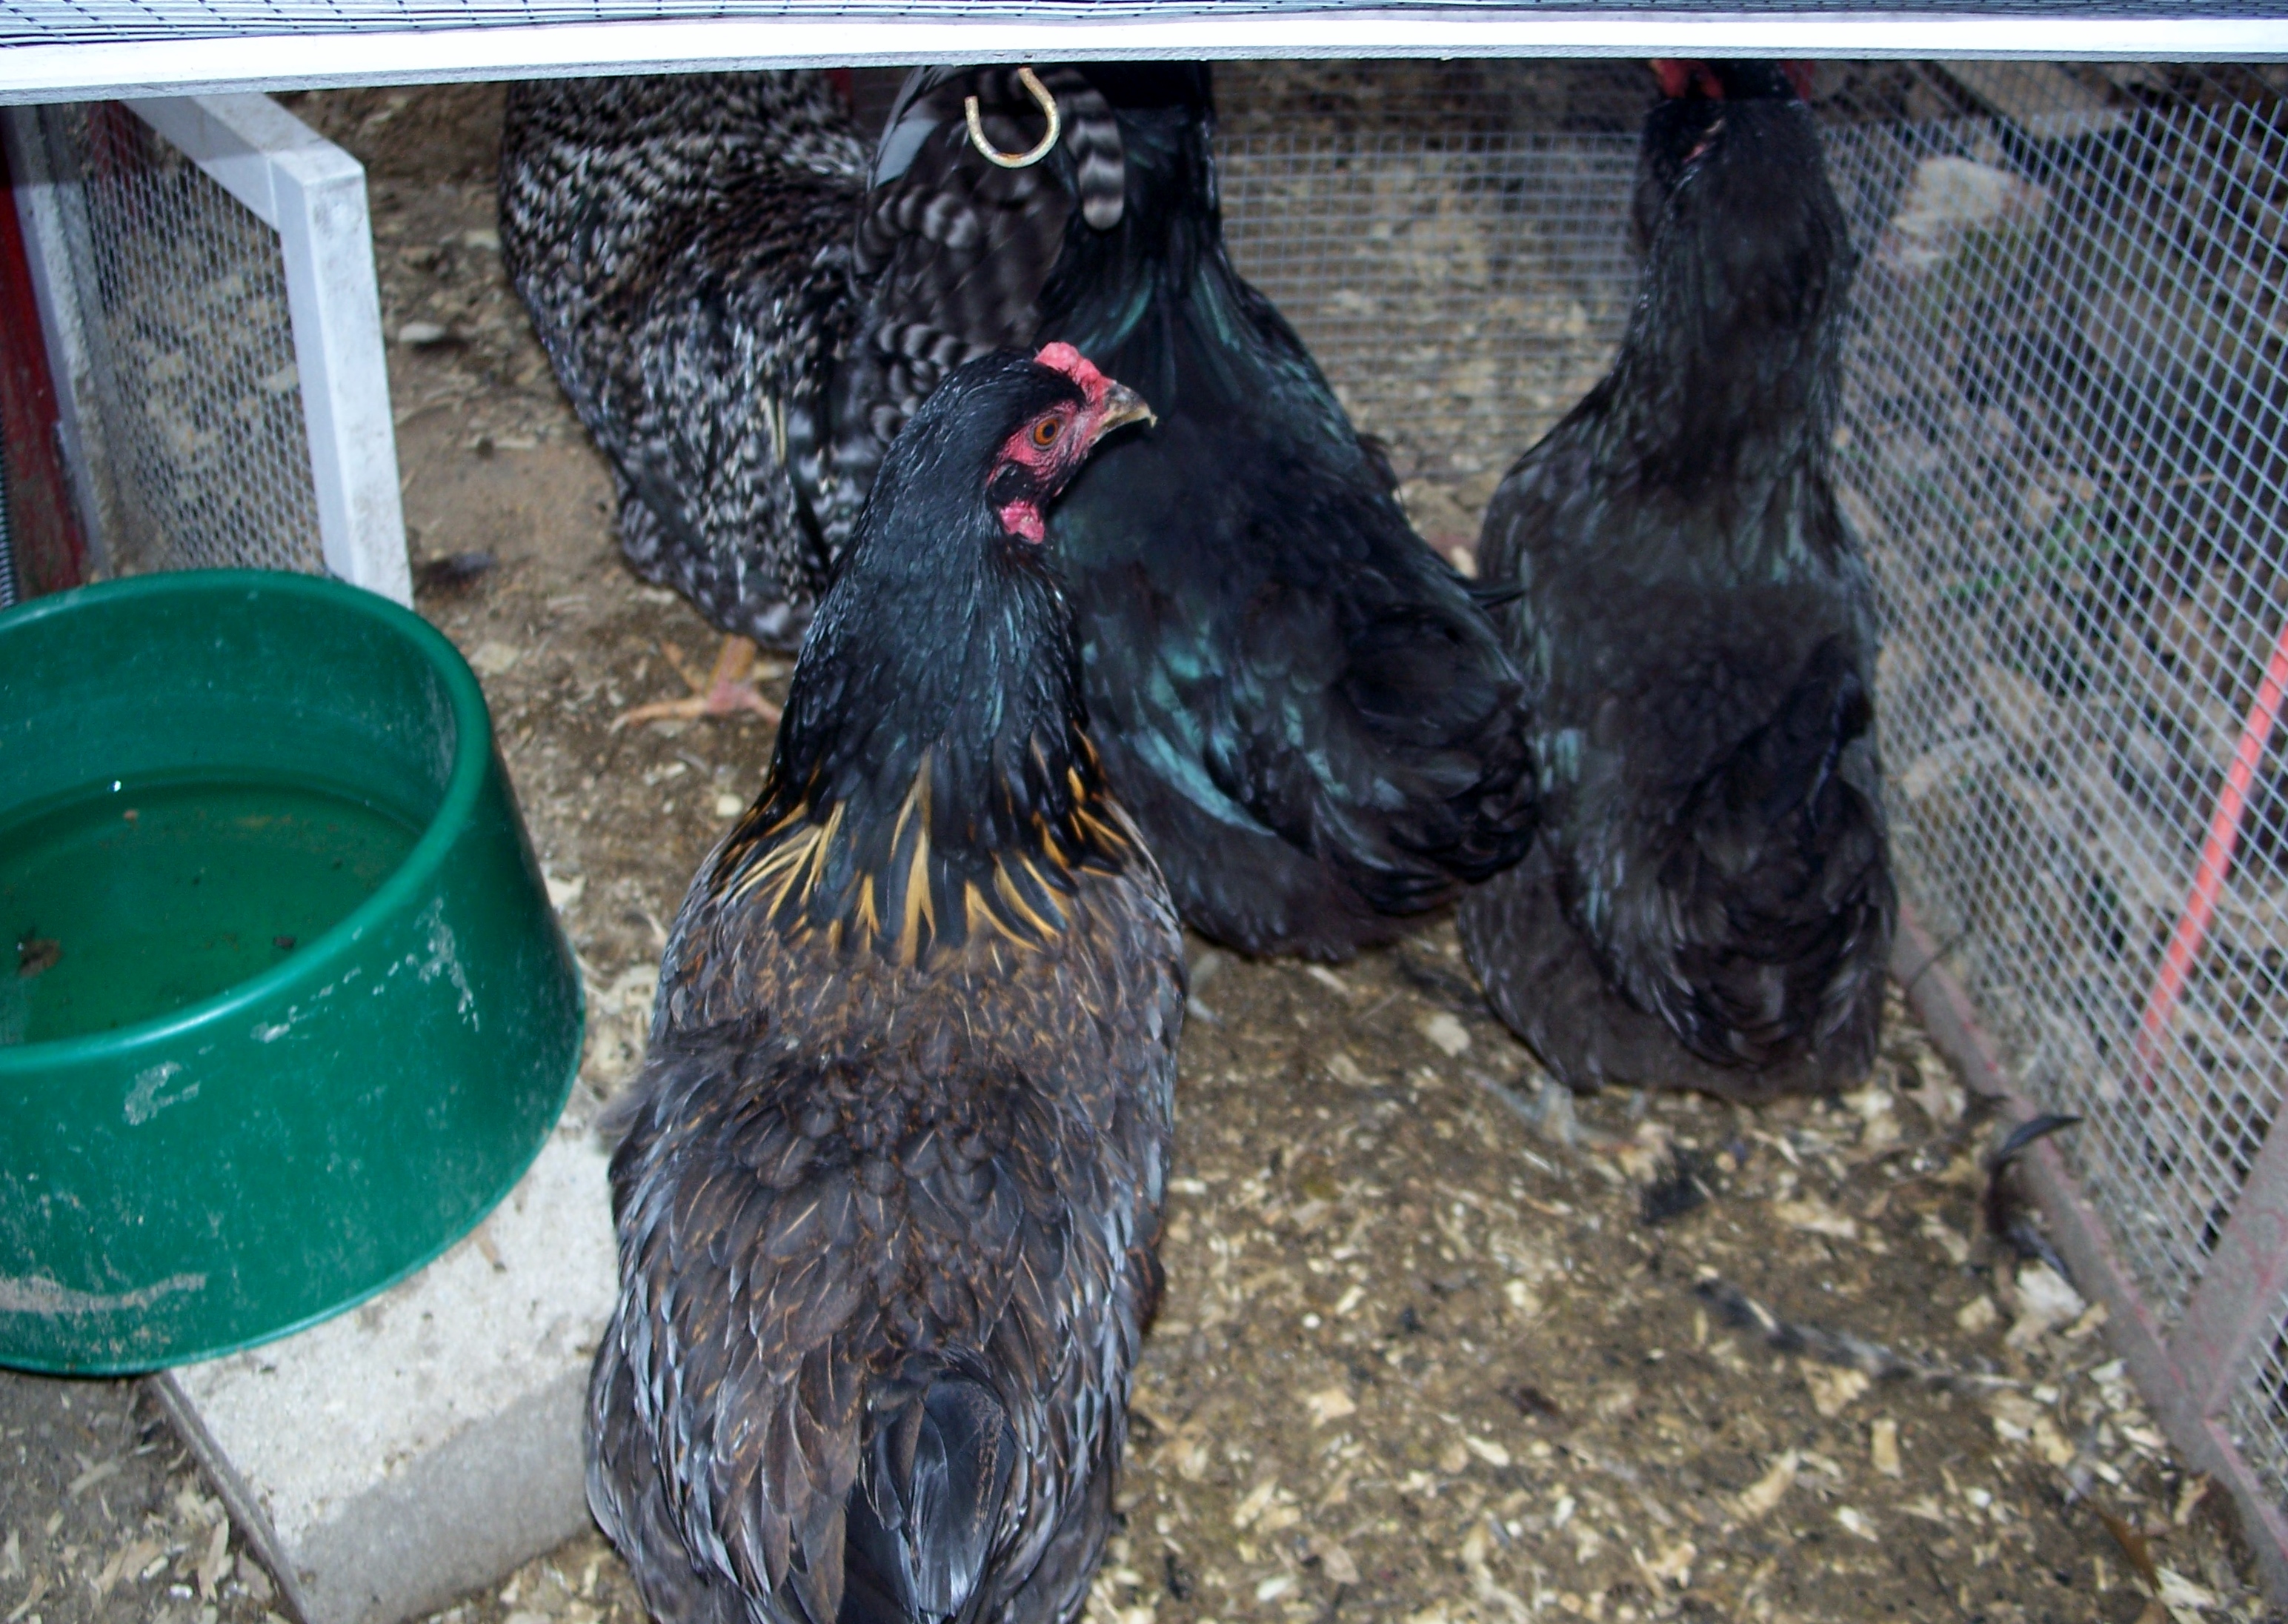
One of my newest advantage is raising chickens.
I currently have three hens and a rooster and I am always looking for ways to keep them happy.
One of the problems I was hoping to avoid was frozen eggs in the winter. Most days I can check
the nest every three hours (it usually takes three hours for an egg to freeze) but some days I just can't be there so
I decided to make a "chicken nest cozy." Once the cozy is made you will need to heat it twice a day at lease
once in the morning and again in the afternoon if all the hens have not laid for
the day. You heat the cozy in
the microwave for 2 to 3 minuets. These
things are very simple to make and you can even buy ones at the store.
You will need a
piece of fabric a little larger than your nesting box.some uncooked dried rice or beans, thread,
and a sewing machine. Start
by measuring your box and cut two pieces of fabric about 2 inches bigger
than your final measurements. A 12 x 12 box would take a piece of fabric cut 14 x 14. With wrong sides together use your sewing machine and stitch
up three sides.
Turn inside out.
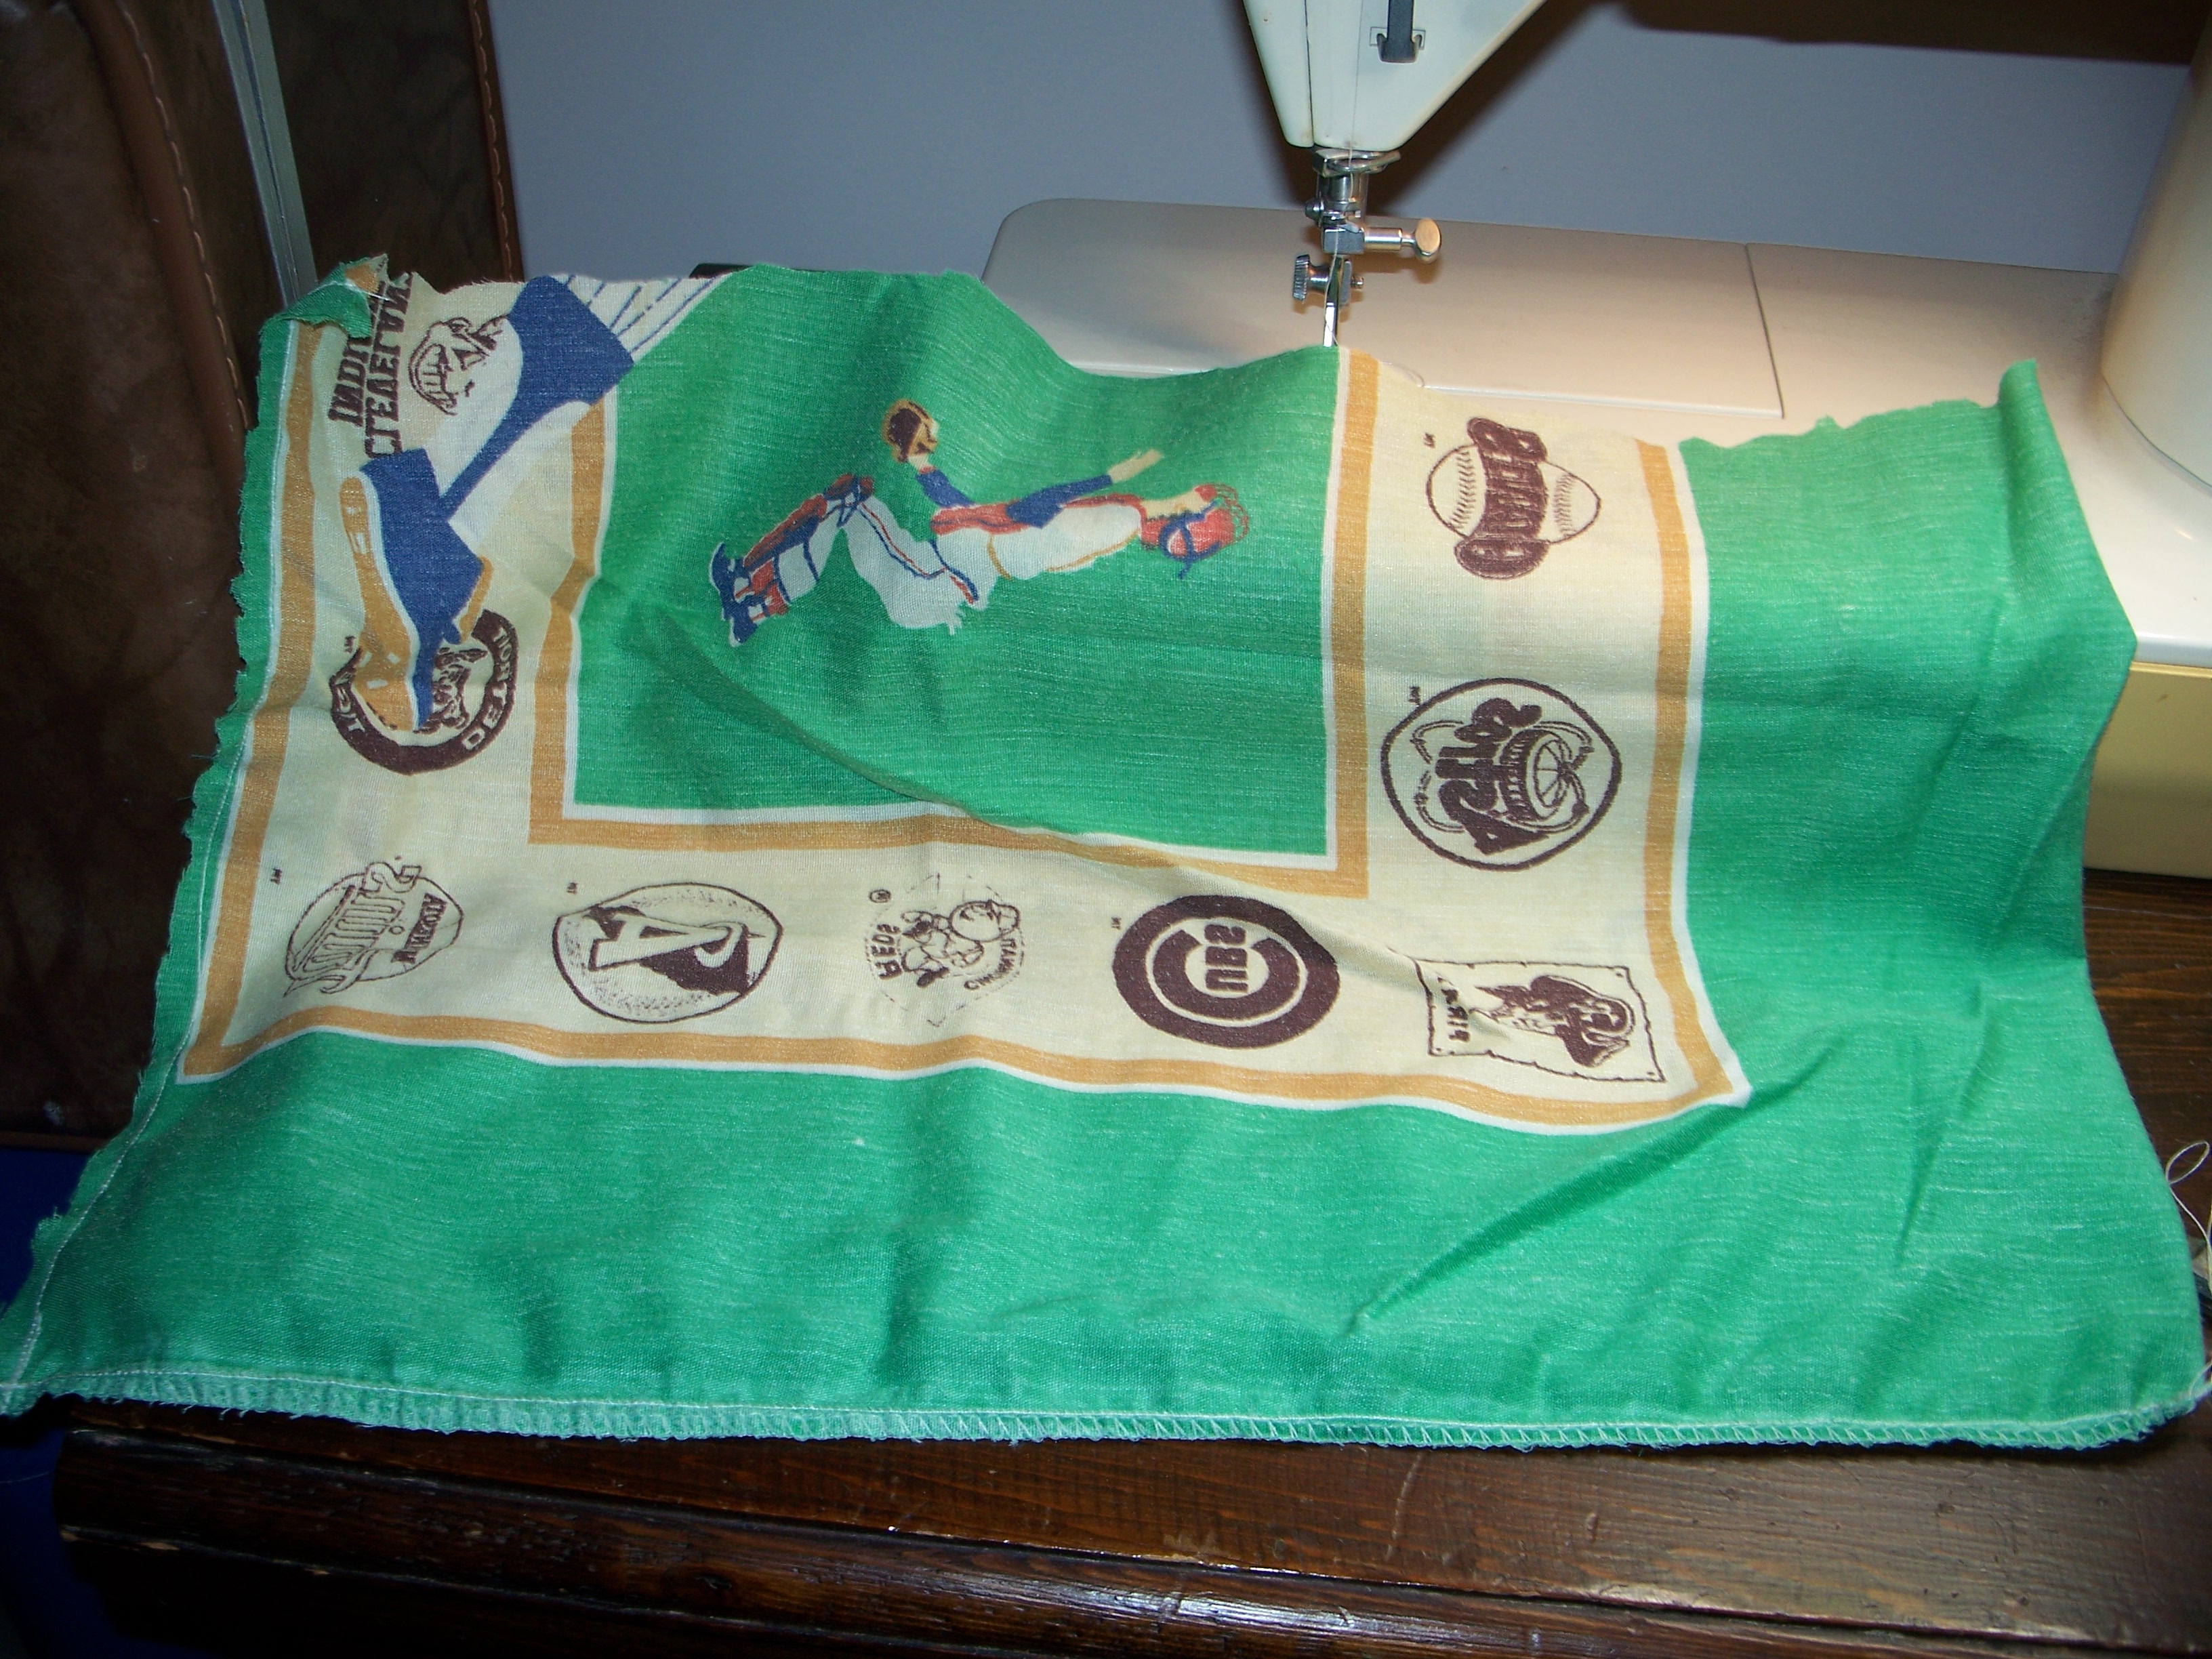
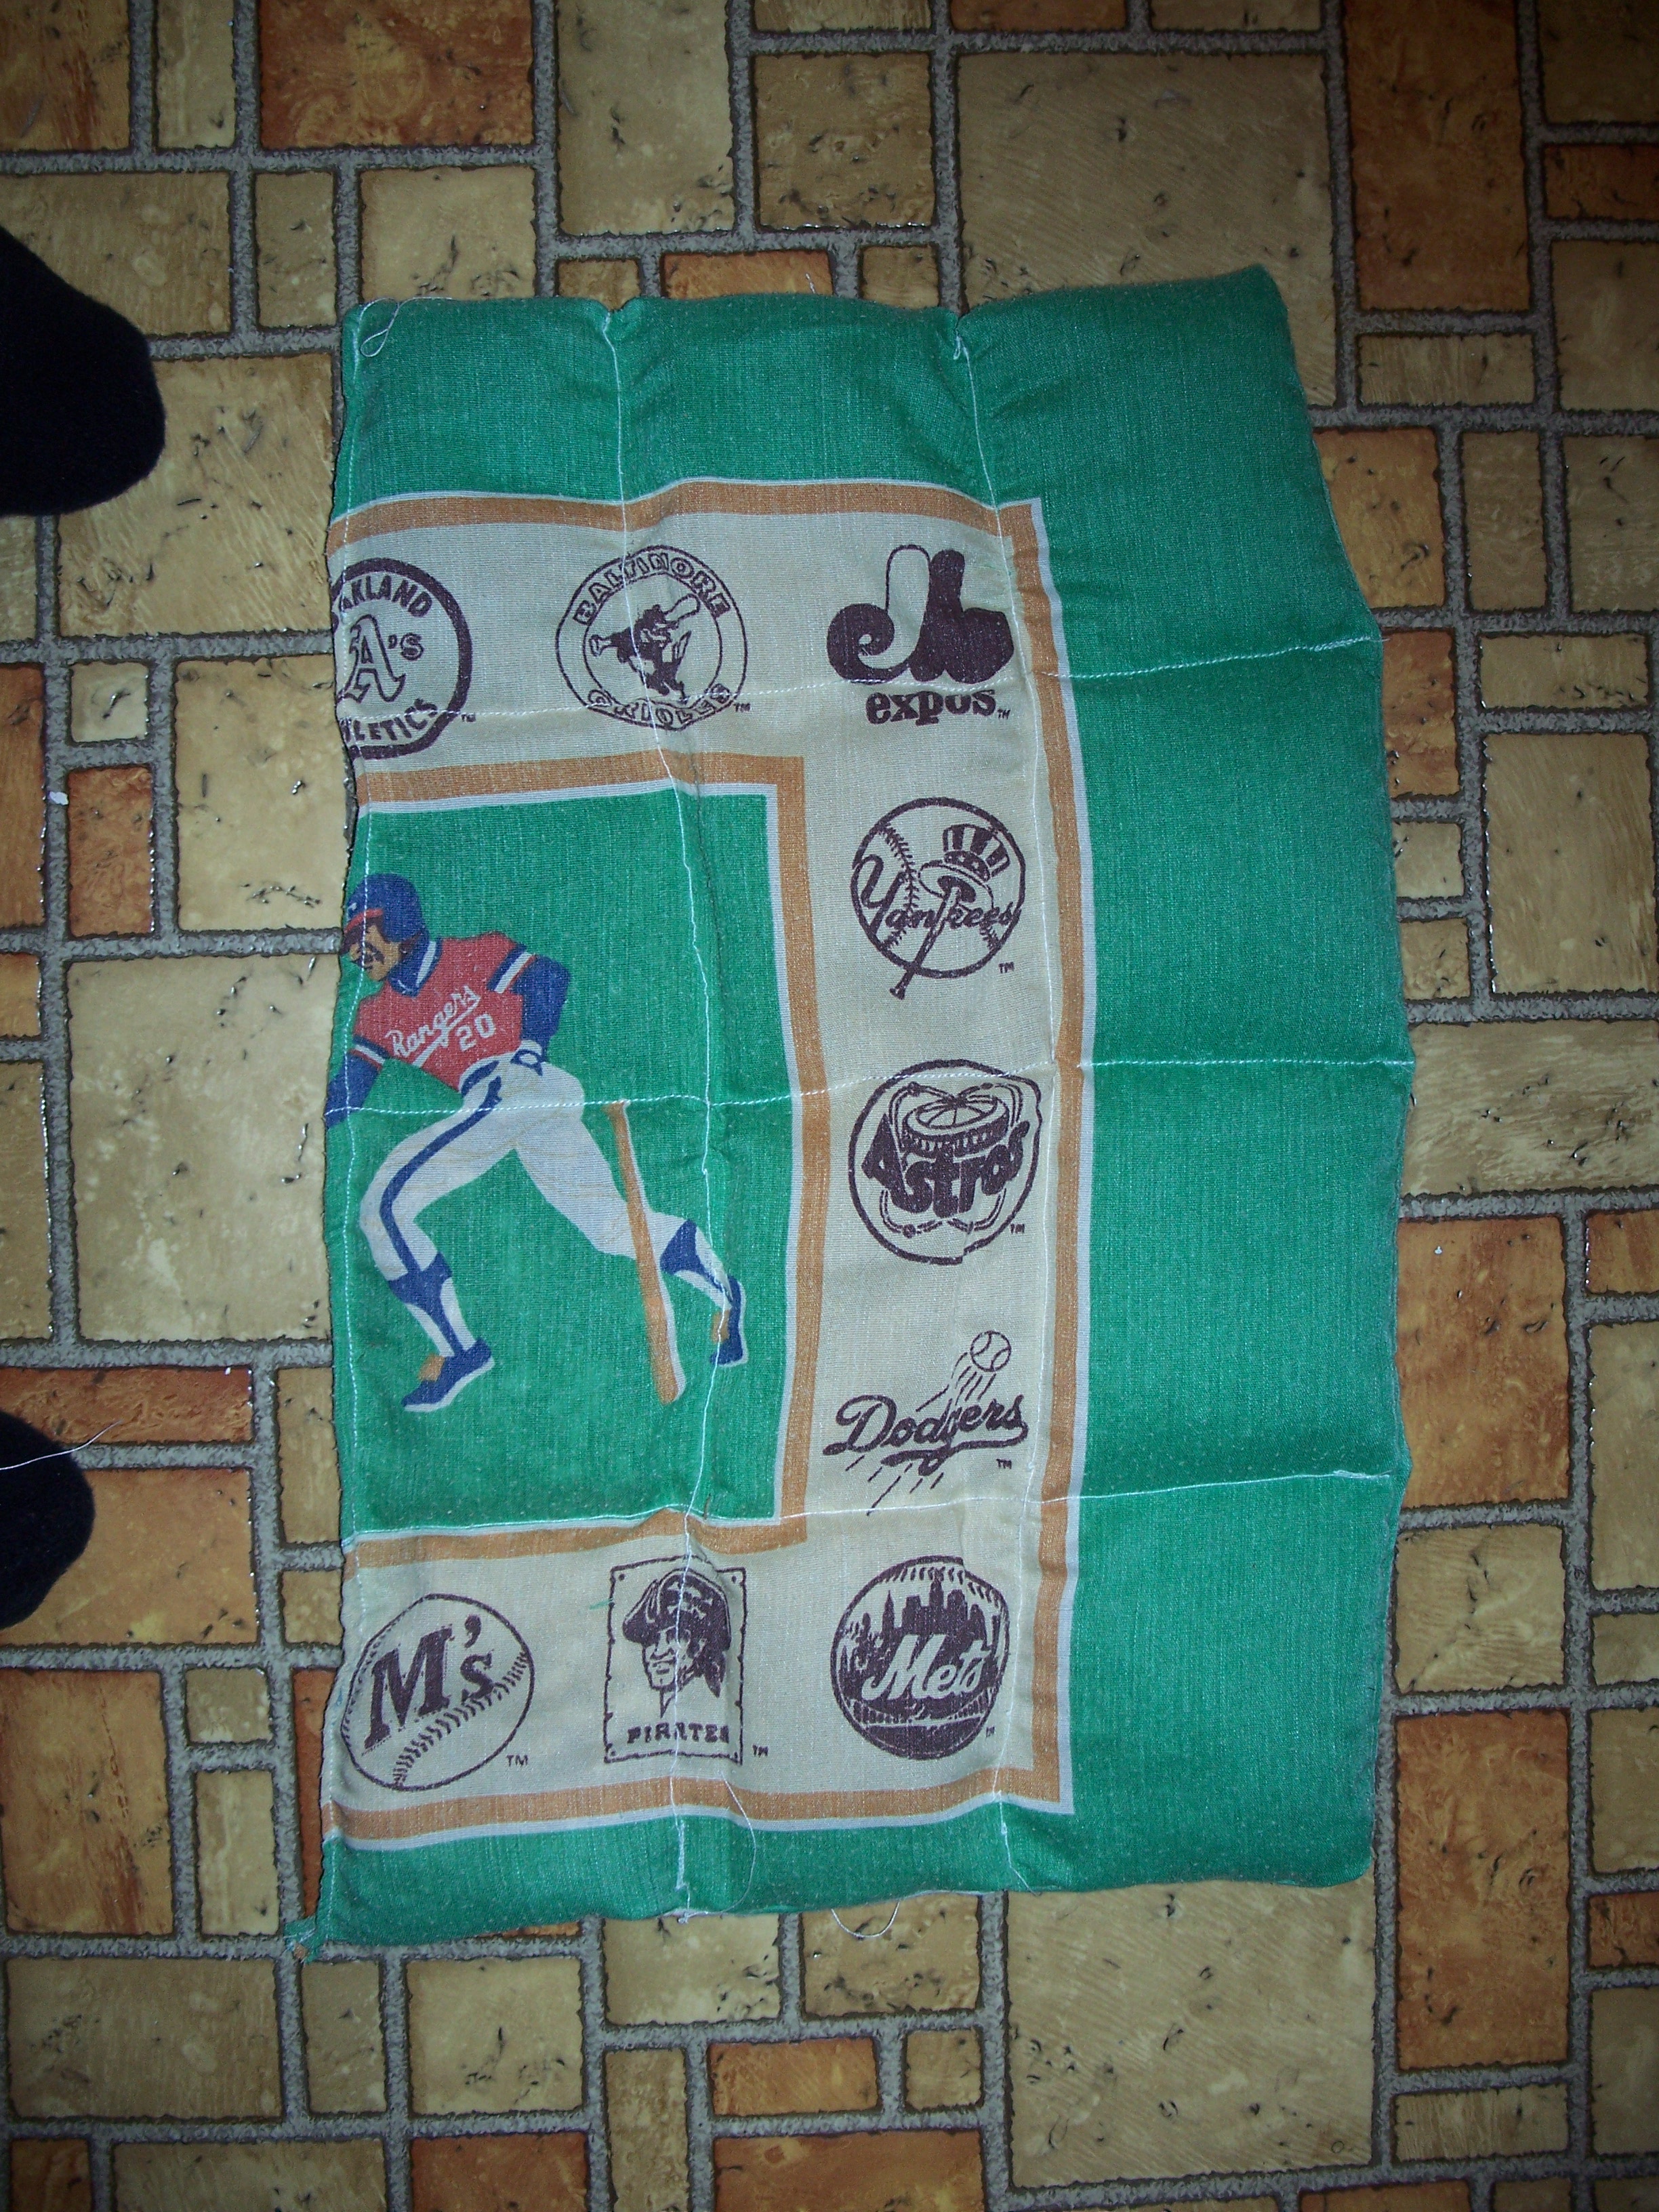
Starting from the open end stitch down the very center to form two pockets. Sew down the center to the two pockets
to form a total of four pockets. You now have four long pockets. Fill each of the pocket about 1/3 of the way (add
dried herbs to the pockets along with he rice if you wish). Pin the fabric were the rice ends and sew across. Remove pins.
Repeat until the pockets are all filled.

Now it is time to heat it up and place it in the nest. But it can not go directly on top of
the nest!
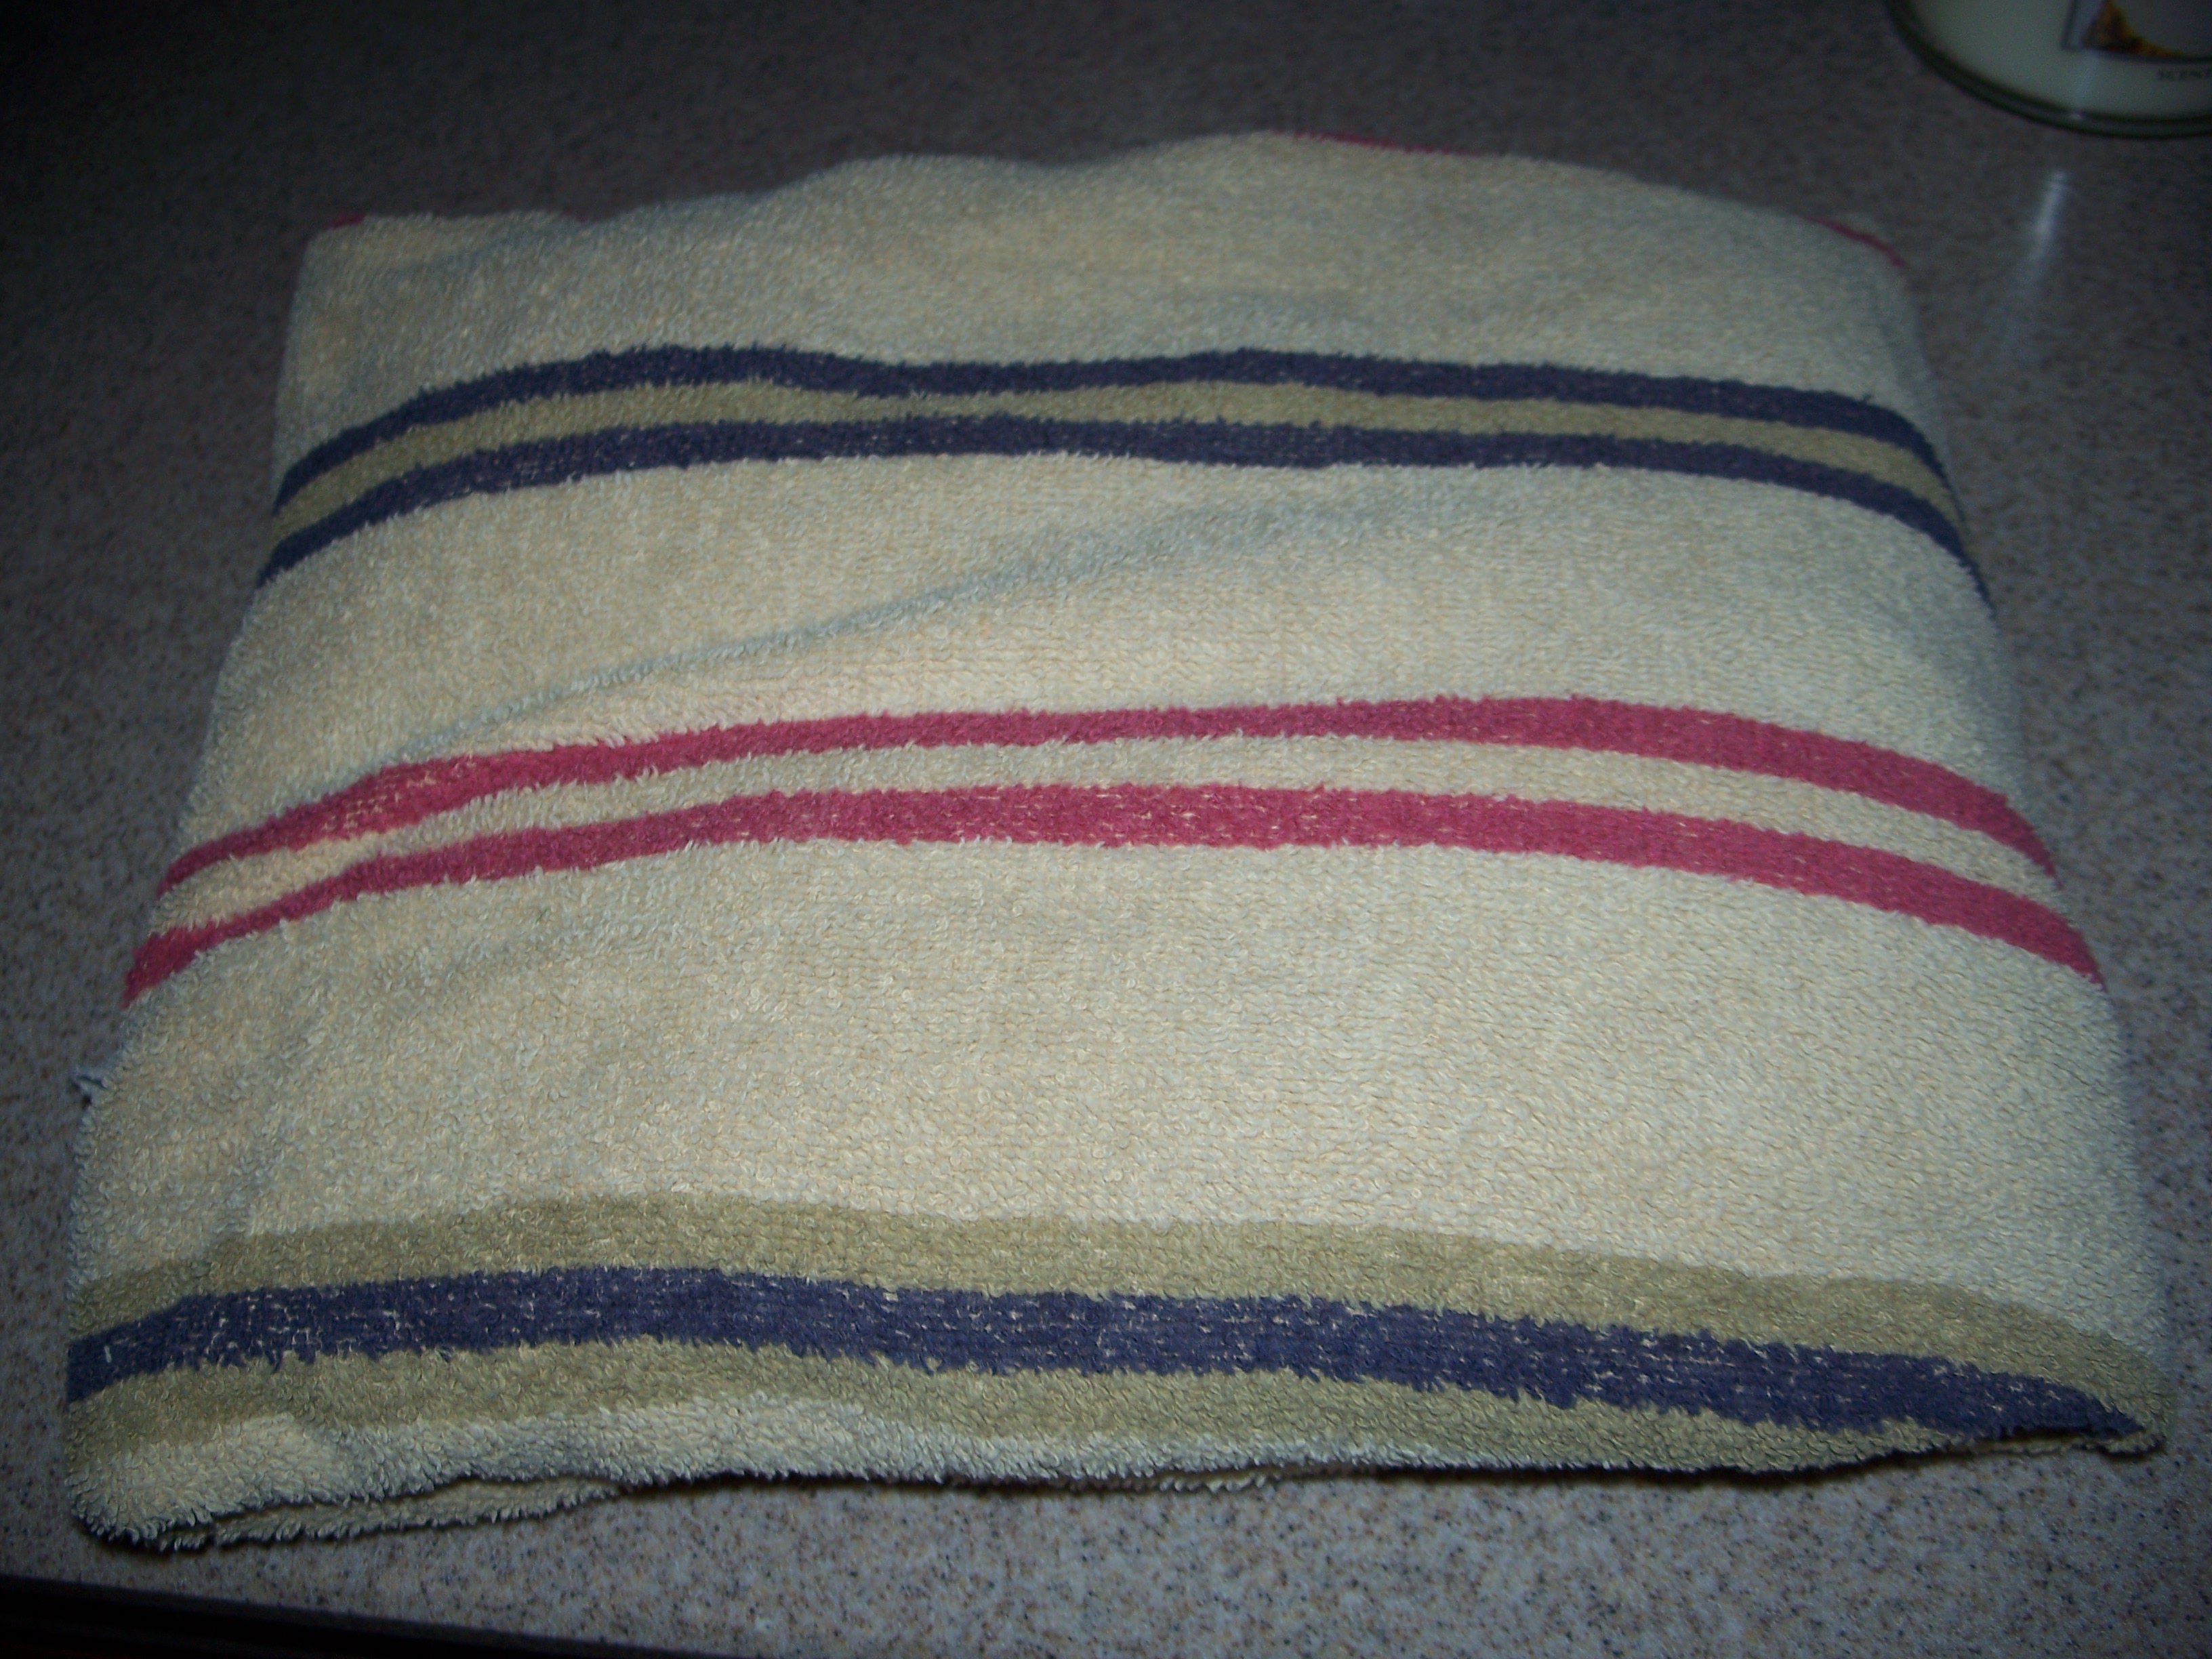
First add a layer of straw to the bottom of the nest. Top the straw with a layer of cardboard. Now take
your heated cozy and wrap it in aluminum foil (to keep the cozy clean) and place it over the cardboard. You may wish
to wrap it with a towel to prevent the hens from pecking at the foil. Top with another layer of cardboard. Finish with a
layer of straw. Do not use anything that the chicken will peck at without concealing it by covering it completely.
This will only be needed when the temperature is below freezing. A warm egg is a safer egg plus
the hens will enjoy a nice warm nest on a cold winter day.
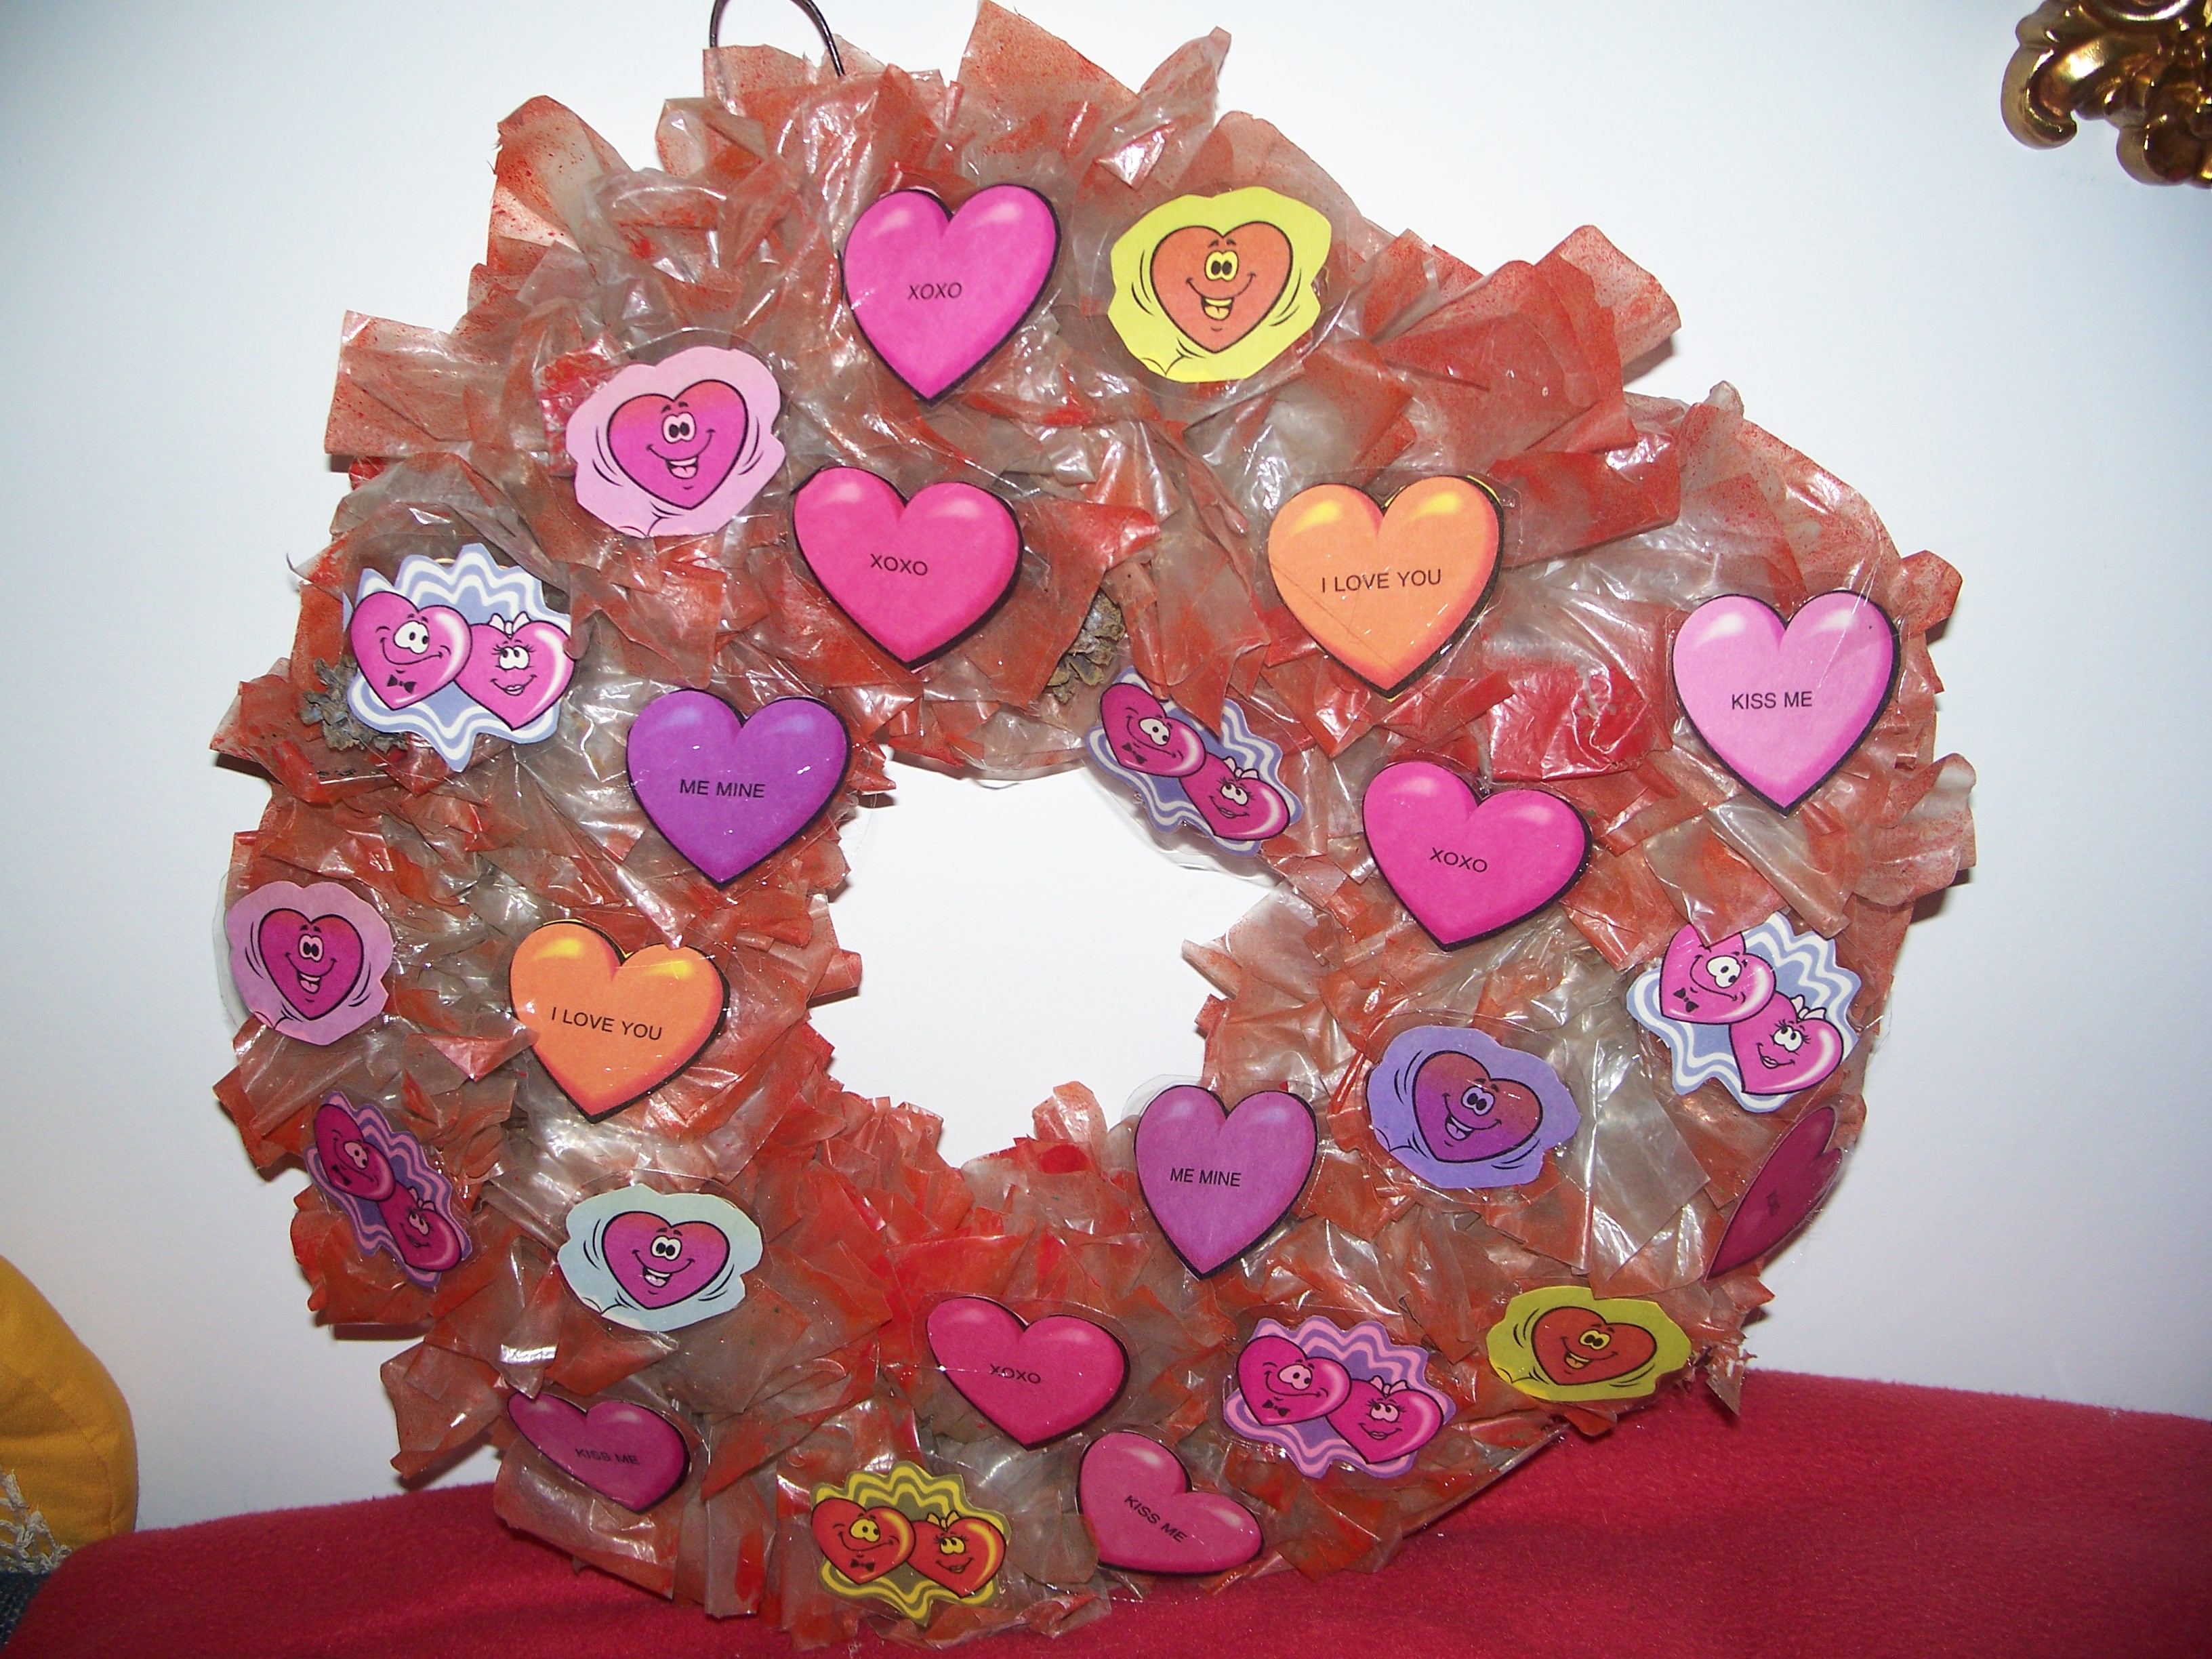
| Valentine Wreath |
|
Equipment :
One wire clothes hanger
Lots of old bread wrappers
Red spray paint
Computer
Printer
Construction paper
Laminator
Laminator pouches
Scissors
Hot glue gun
Glue sticks
Instructios:
Bend the clothes hanger into a circle with the hook at the top/
Take the bread wrappers and lay them flat. Cut strips three inches wide from the short end from top to bottom. Cut
the strips down the center to create a longer piece instead of circles.
Take one strip at a time and fold the center of it over the wire hanger and tie a overhand knot with equal ends.
Contiune this until the wire hanger is completely covered and as flufffy as your wish.
Take the wreath outside and following directions on your spray can. Spray the wreath .
While it is drying. Boot up your computer and design or copy valentine designs and print them off. I used
construction paper. They should be simple designs that will be easy to cut out. Cut the designs out and arrange
in the laminator pouches so that the edges do not touch. Laminate. Cut to seperate the designs and arrange on wreath in desired
places. Hot glue to wreath.
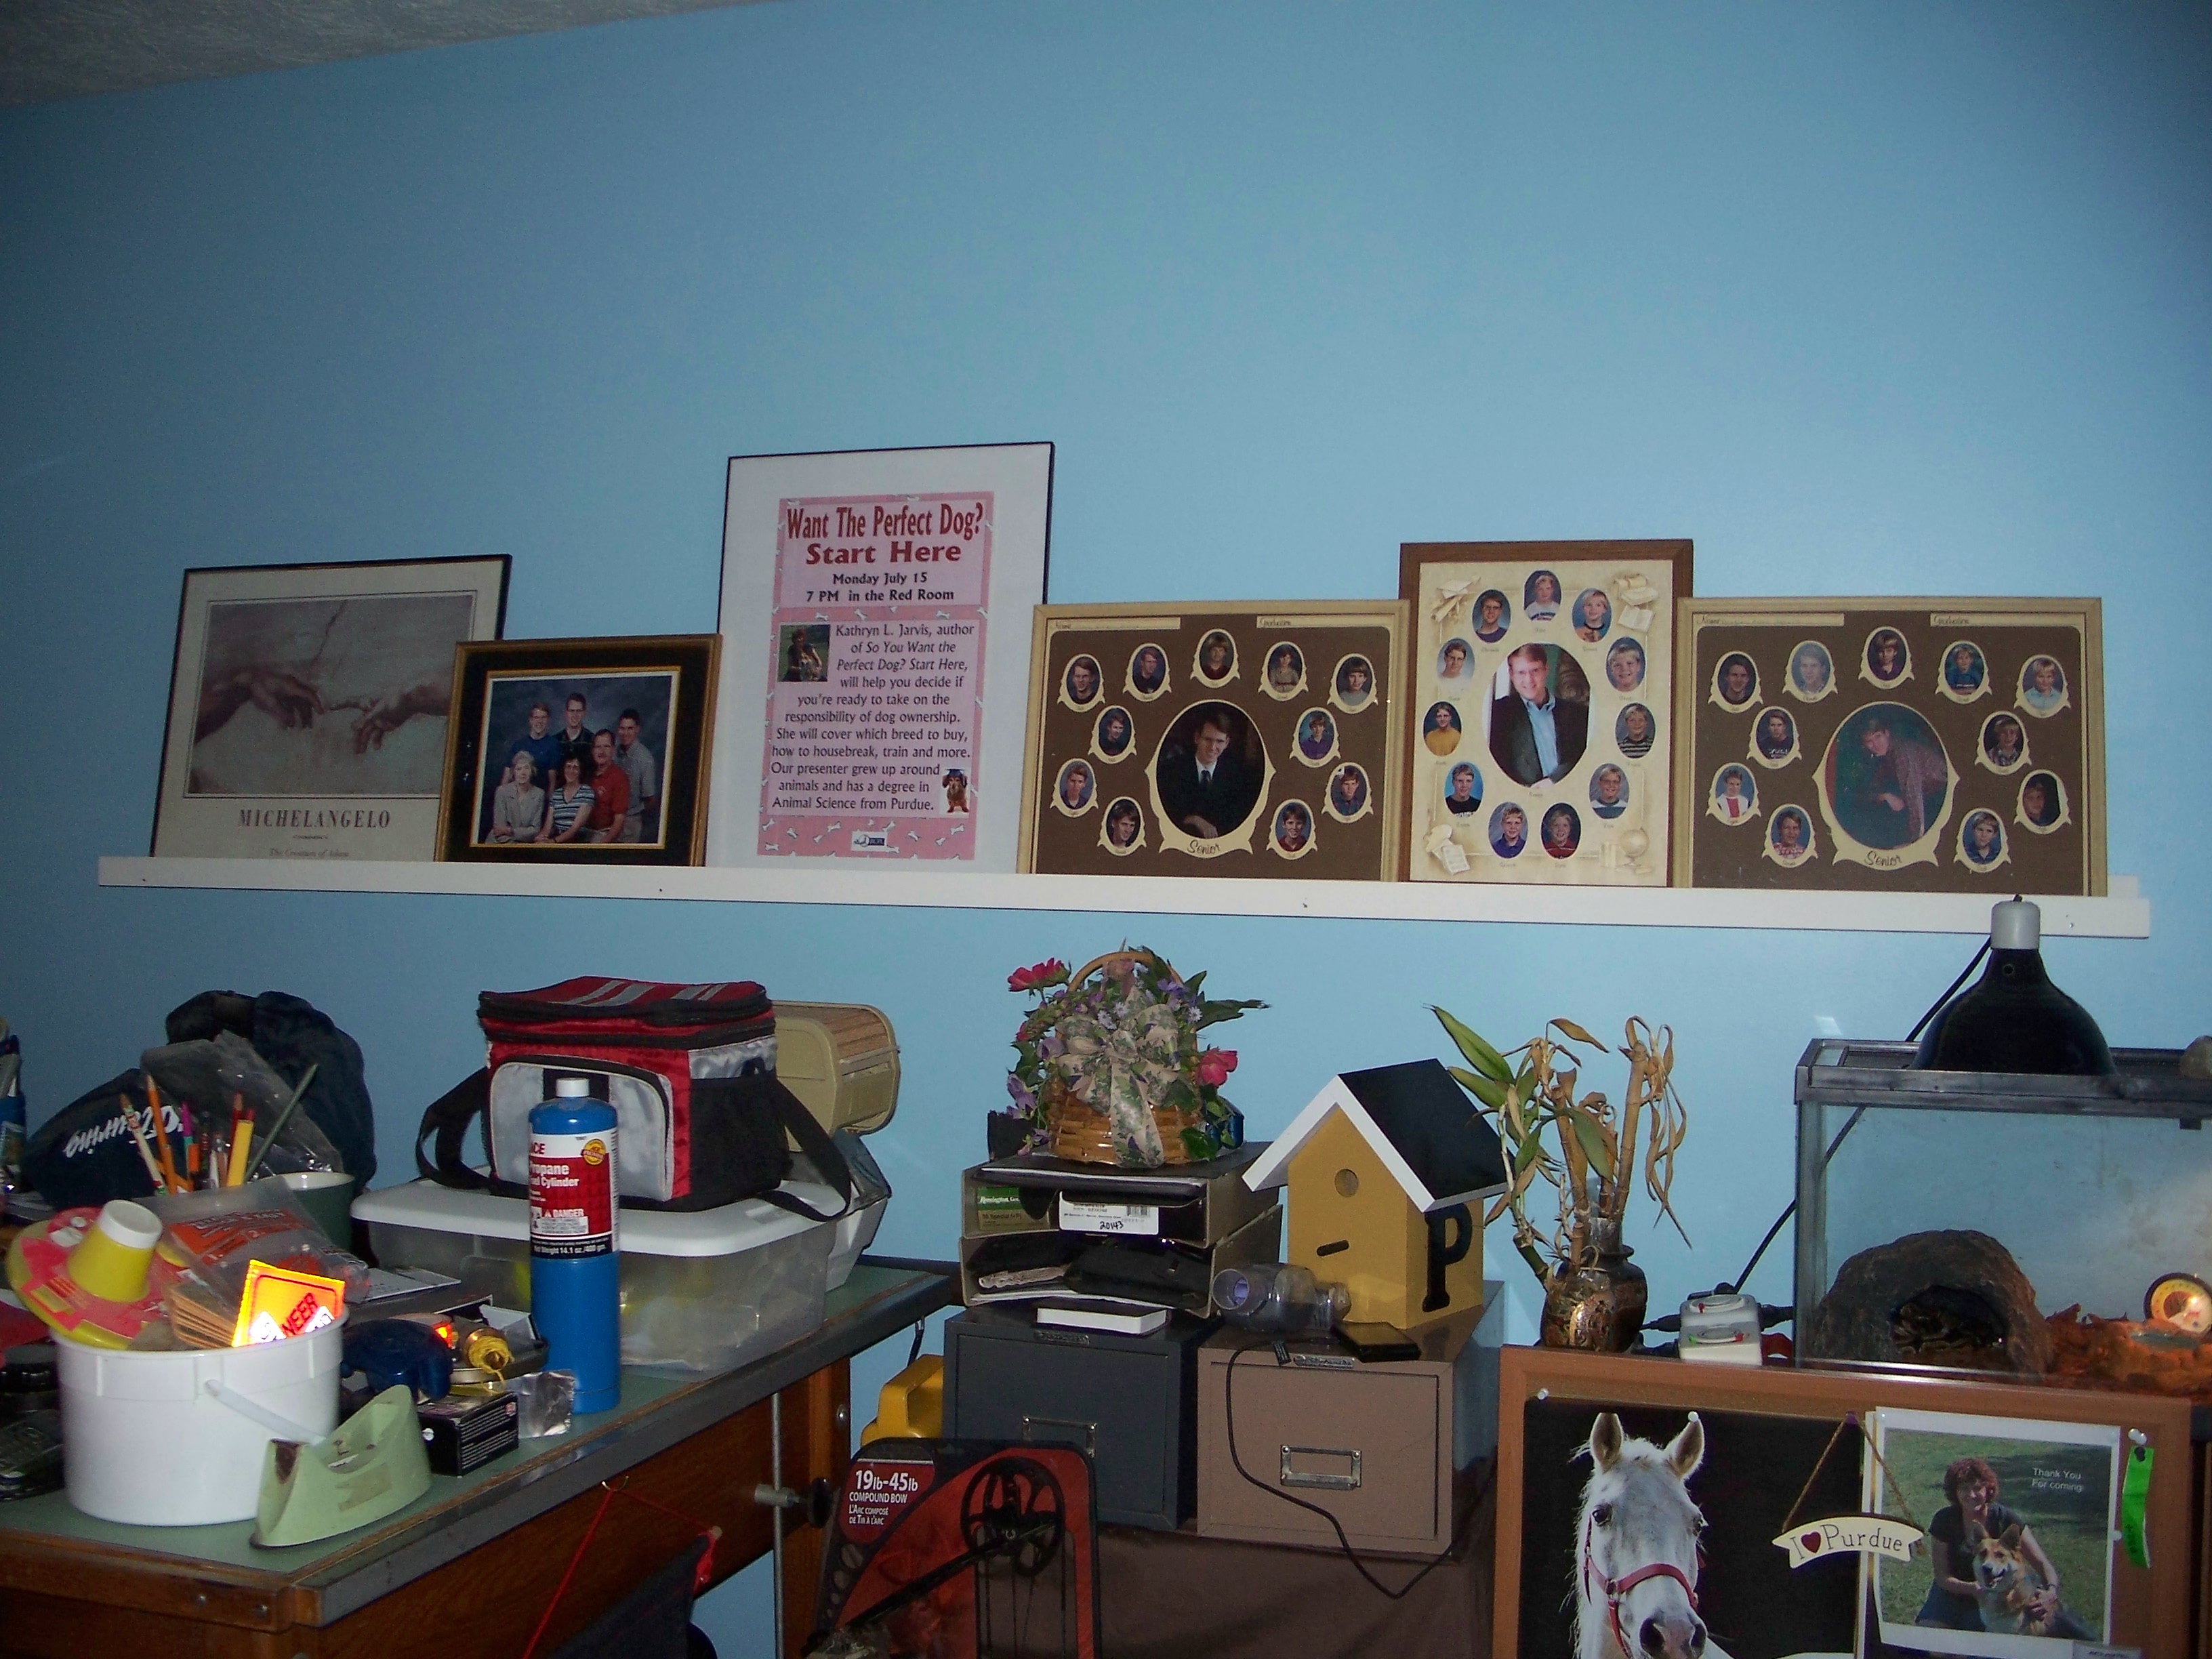
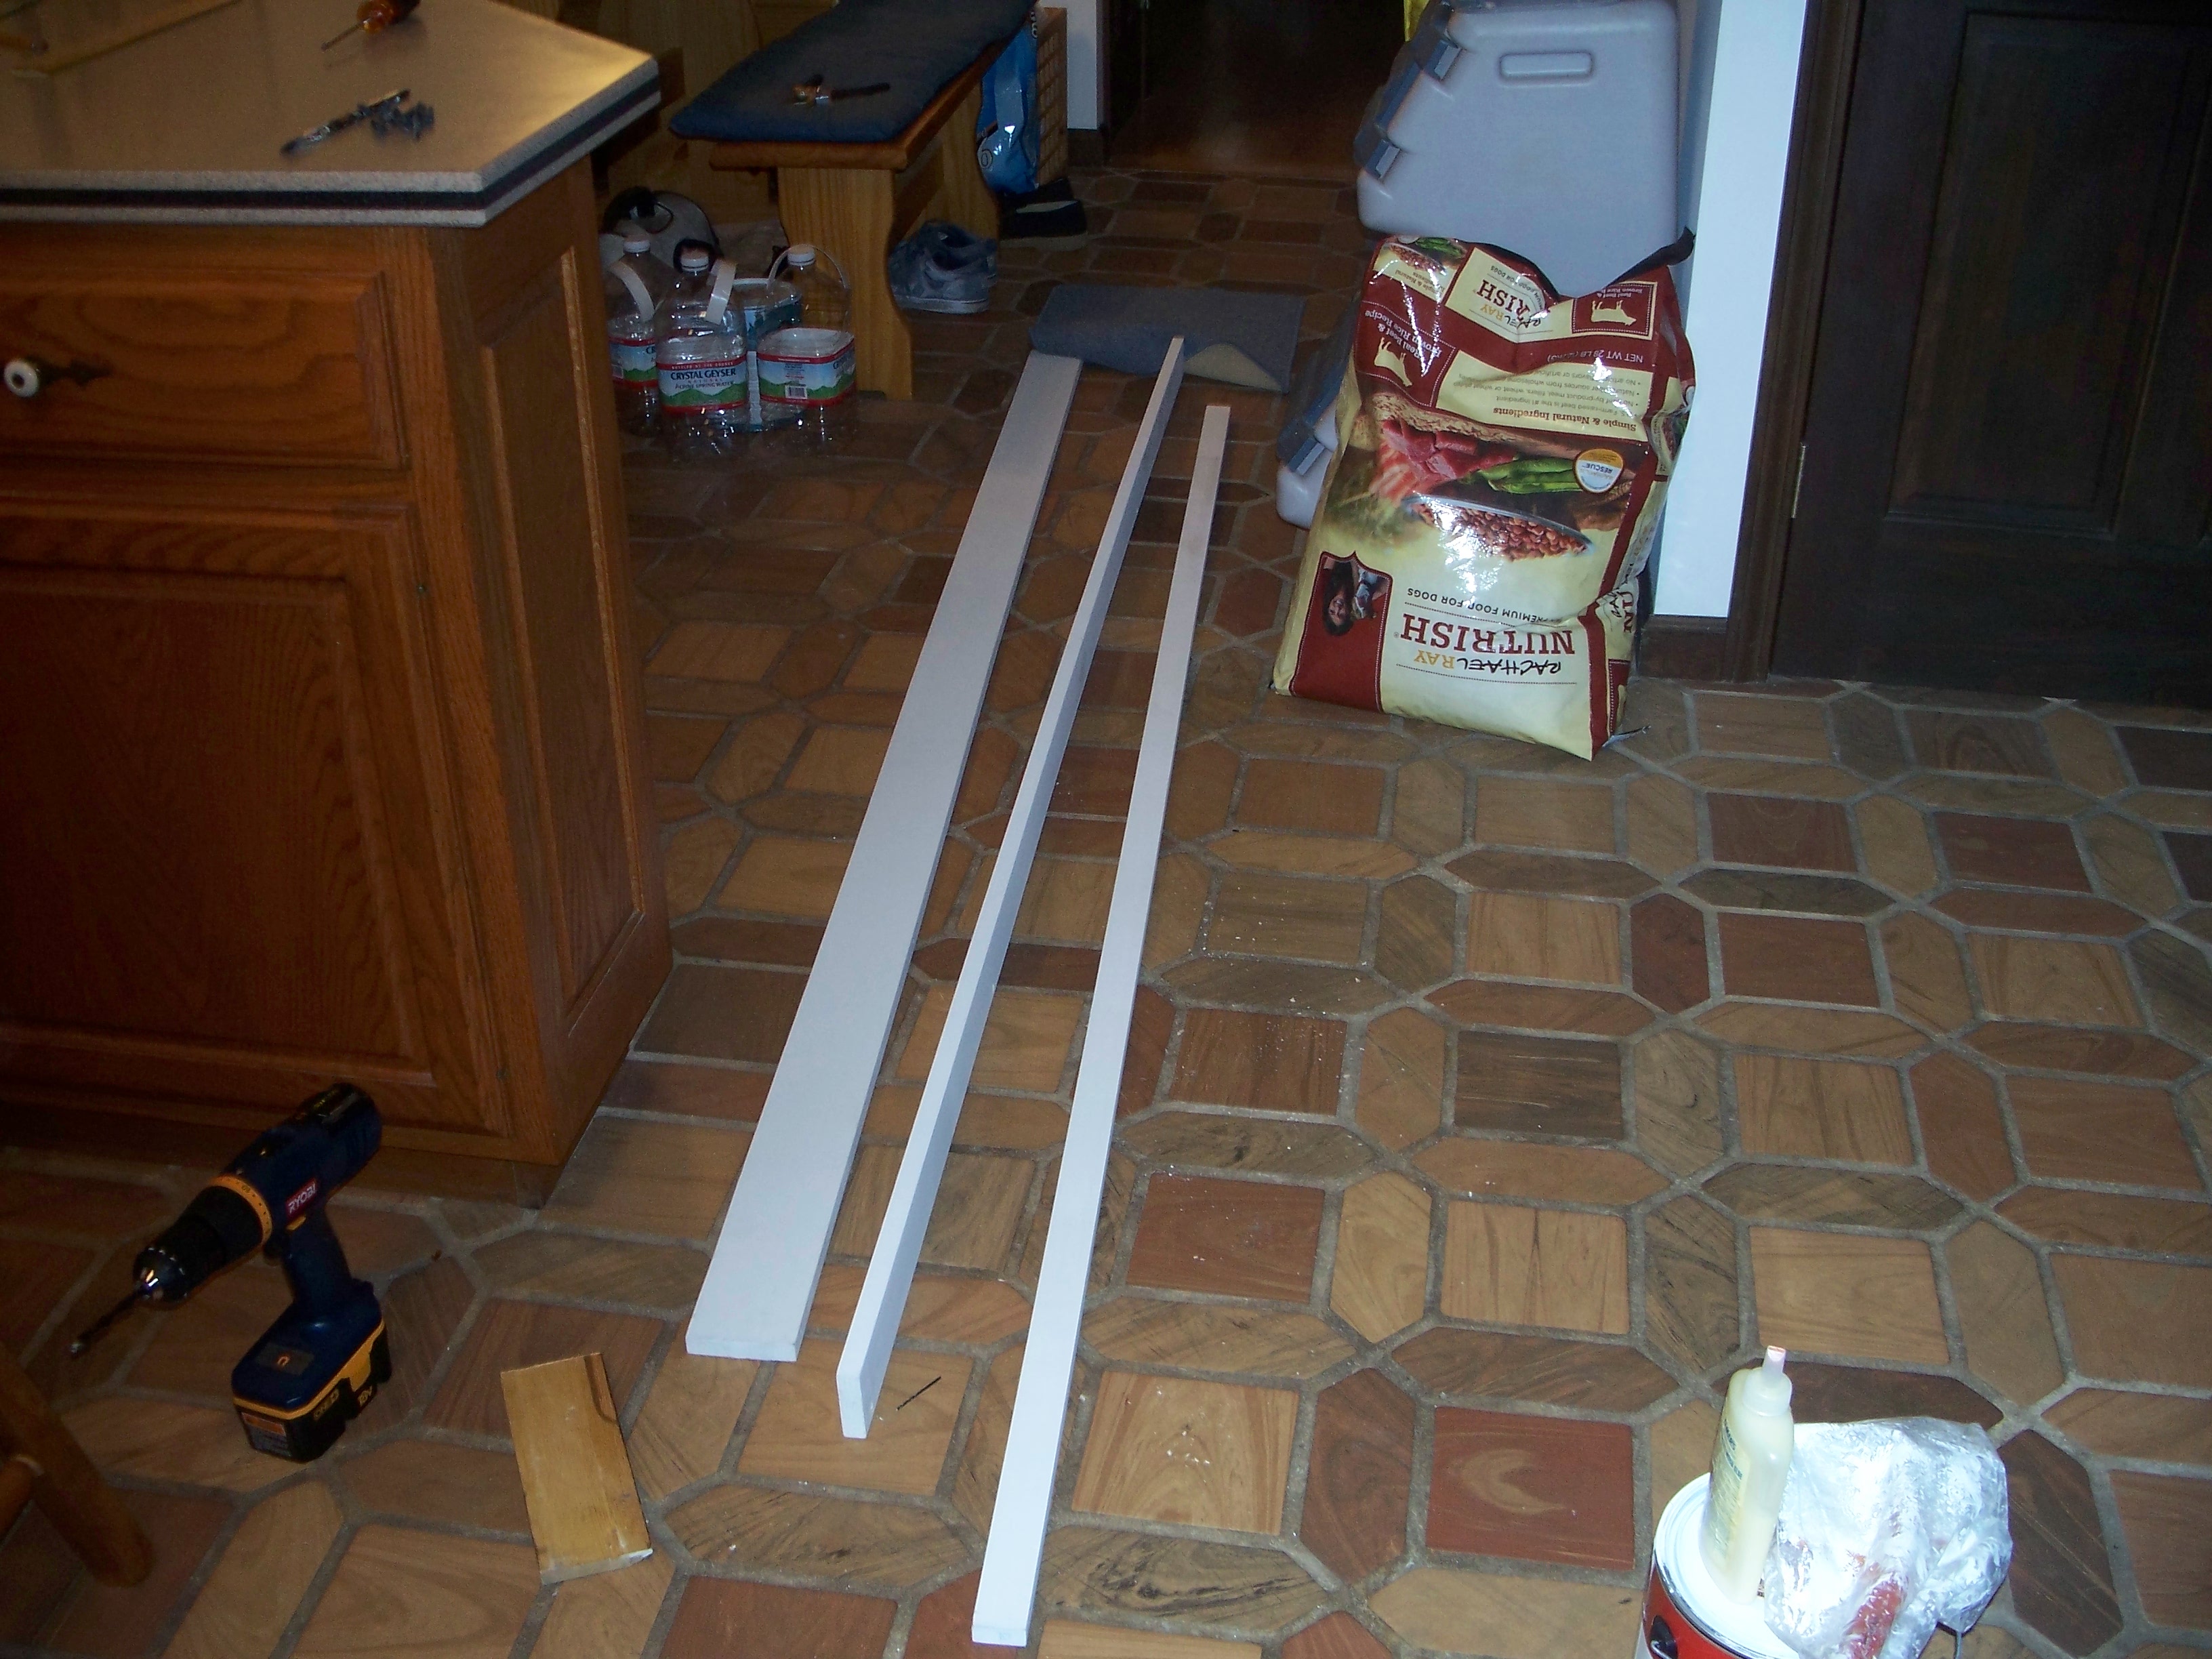
| 8 Foot Photo Shelf |
|
Material needed:
1 x 4 x 8 feet board (2)
1 x 2 x 8 feet board
Saw
Level
Square
Screws (6 -2 inch and 4 - 3.5 inch)
Finishing nail
Sandpaper
White paint
Brush
Stud finder
Screwdriver
Instructions:
Check boards for any imperfections and square up ends if needed. Cut to equal length if needed.
Attach the two 1 x 4's together in a L form using small screws (2 inch). Take the 1 x 2 and attach it to the front
piece to form a small lip to keep phots from slipping forward with finishing nails.
Drill four equally spaced holes on the back board to attach it to your wall. Use longer screws to attachthe shelf
to the wall. Try to screw into studs if possable to insure a strong shelf.
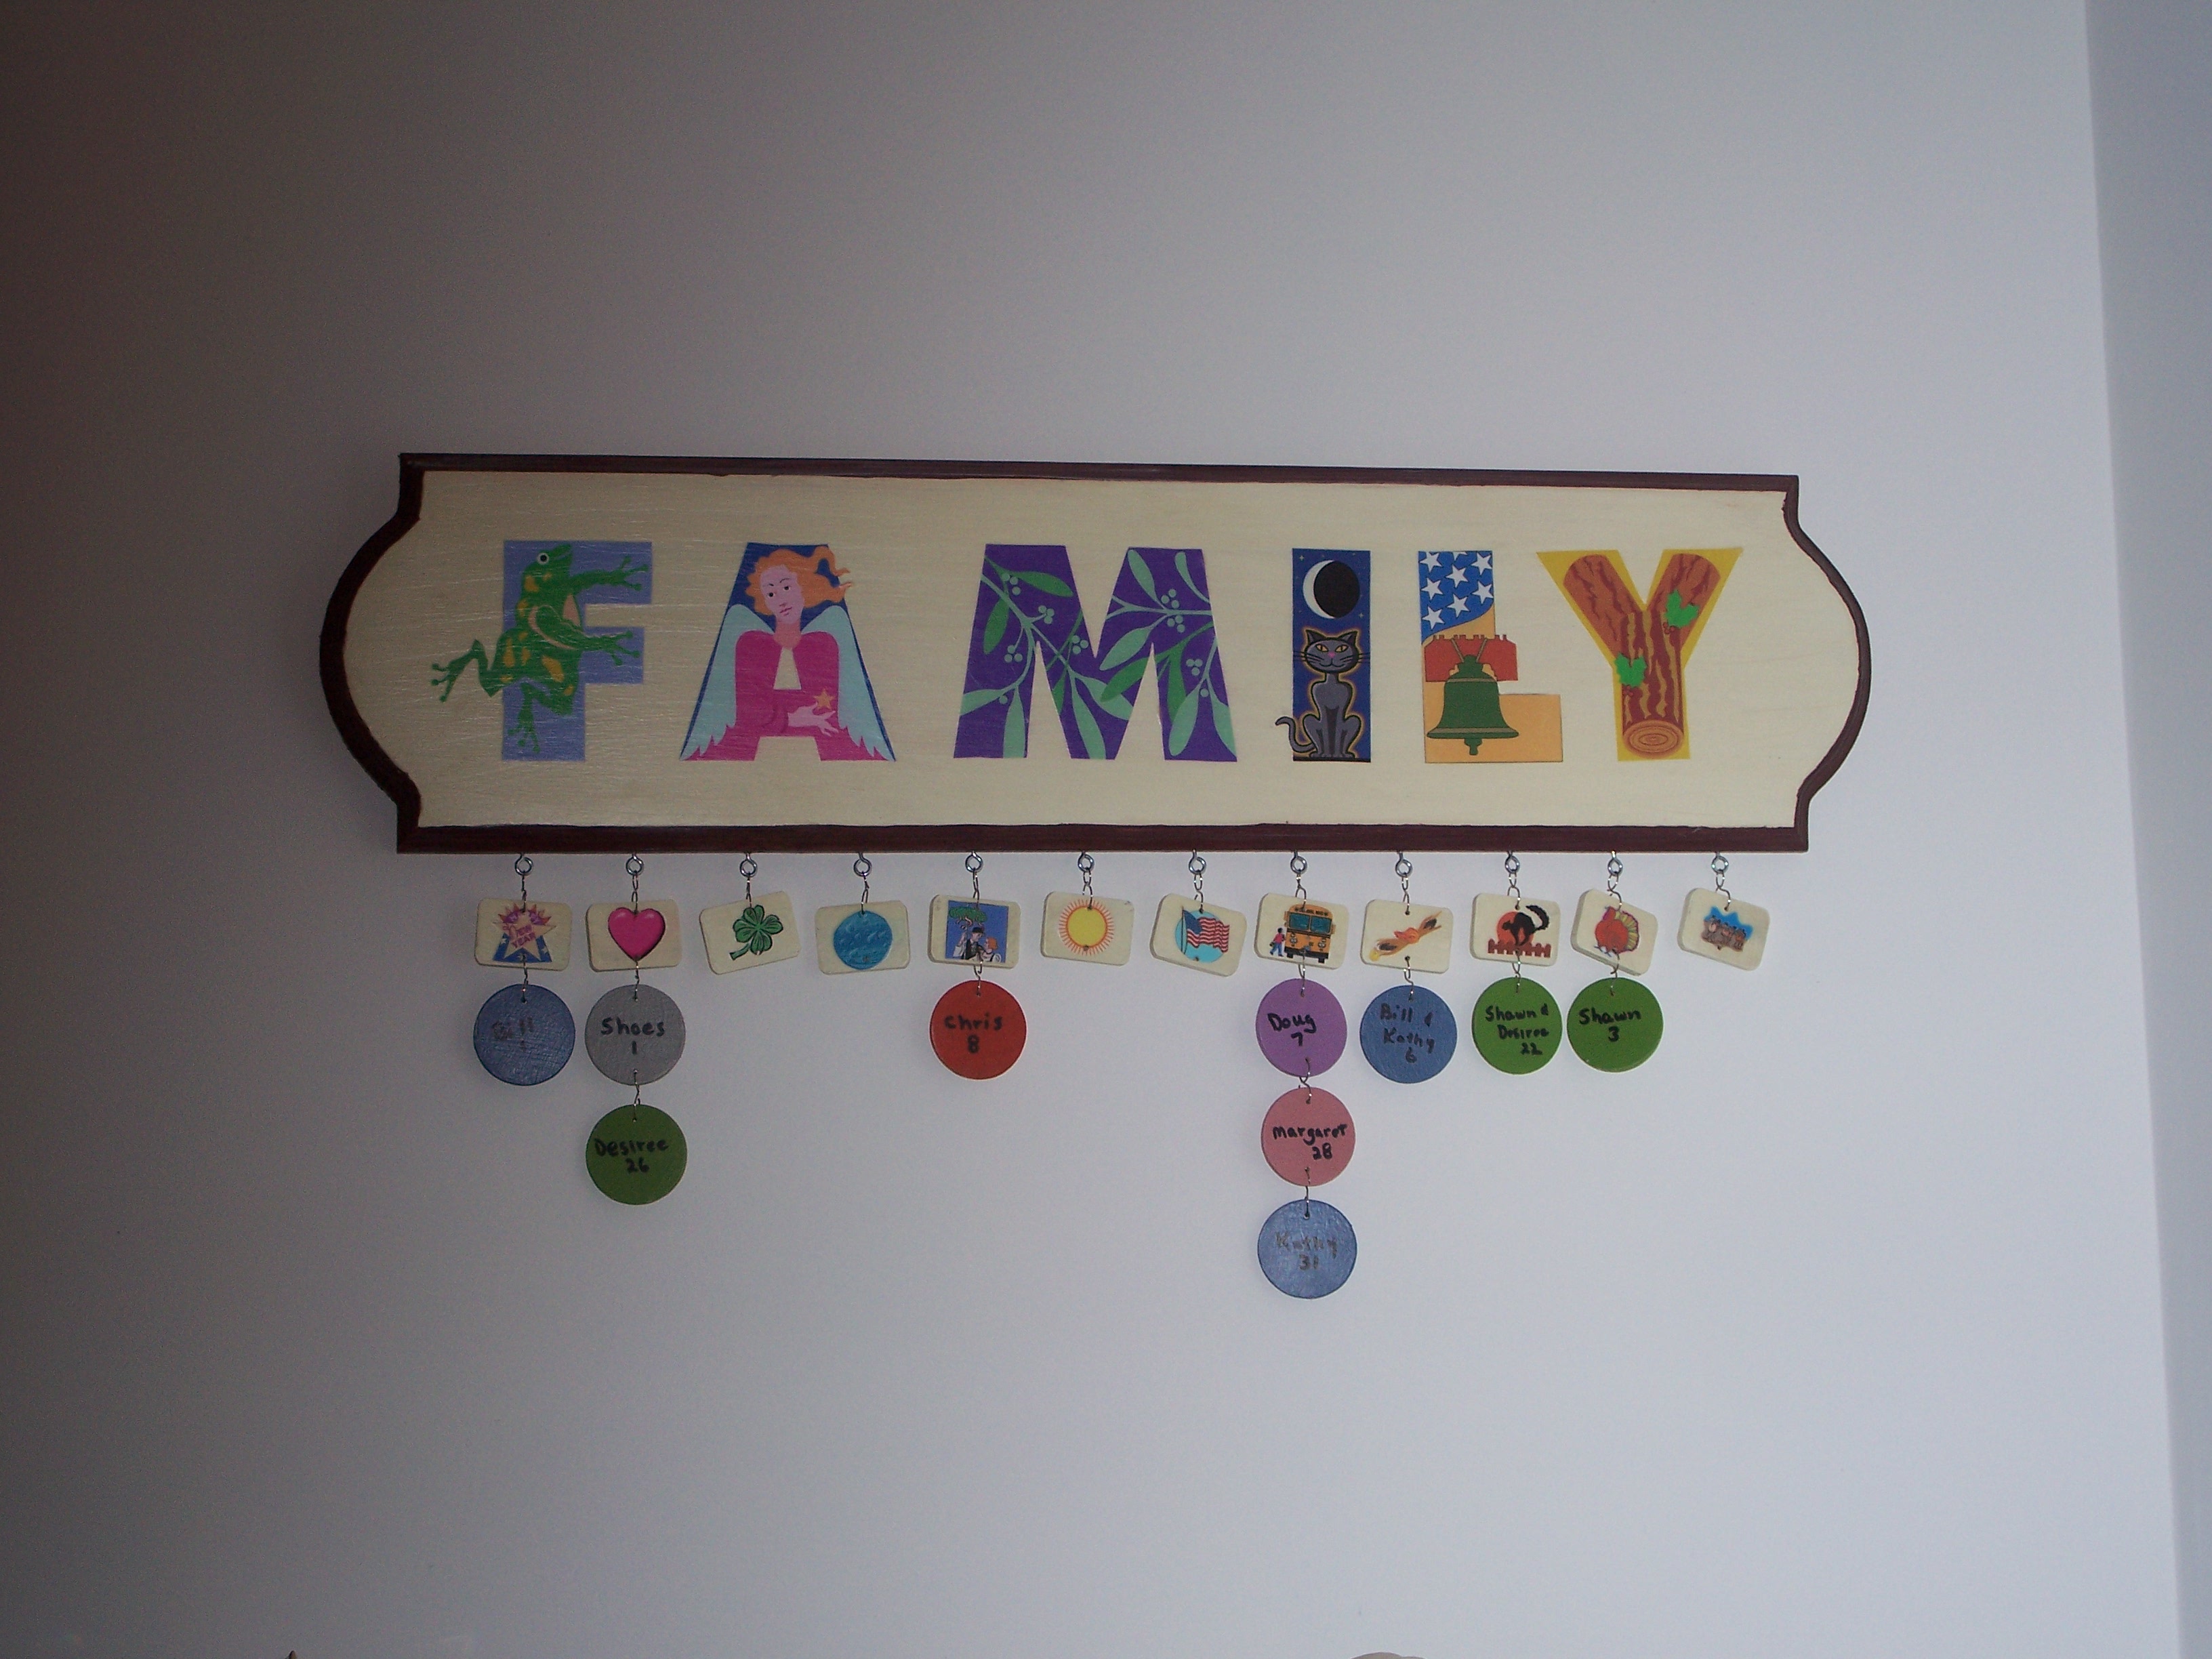
| Family Birthday Sign |
|
Things you will need
Wooden Circles(1-1/2 x 3/16 in)-enough for each person or event you plan to include
Wooden rectangles(1 3/8 x 1 3/4 x 3/16 in)(12)
Various colors of acrylic paint
Paint Brush
Sharpie Paint Pen
Large Wooden Sign
Thin wooden letters
Fabric
Mod Podge
Eyelet hooks
Round Jump Rings 12mm(can be found in jewelry sections of craft stores)
List of dates
Wood glue
Razor blade
Drill
I started by drilling 1/16th holes into the top and bottom of each circle and rectangle making
sure they were directly opposite each other.
Once all the circles were drilled, I divided the circles into families and assigned each a color.
I tried to use colors which complimented each other.
Once the paint on the circles dried, I used the Sharpie Paint Pen to write the name and the
date on each circle. I used only the number of the date, because each circle will hang under its respected month.
After the paint of the names dried, I organized the circles into
their respected months and then put them away for later.
The sign is where you can be the most creative. For the sign shown,
I painted it ice cream color with chocolate border. I used the computer to print the letters which I arefully cut out
after printing them out. The letters were the most difficult part of the project. as my ink wanted to bleed. I
found the easiest thing to do was to put Mod Podge down on the letter back and place the letters on the board.
After finishing the sign I started on the month squares. Originally
I was going to just going to pick a color to paint all the months but decided to decorate each month based off what is known
for and they turned out really well.
January(snow), February(valentine's day), March(clover), April(spring
shower), May(may flowers), June( sun, July(flag), August(school), Sept(harvest), October(Halloween), November(turkey), December(christmas)
I then gave all pieces 6 layers of Mod podge following directions
onthe bottle.
The final step is to put everything together. I spaced out the
12 eyelet hooks and attached each rectangle to an eyelet hook with a round jump ring and used the round jump rings to attach
each of the circles in order by date.
I added a frame hanger to the back of the sign.
|
